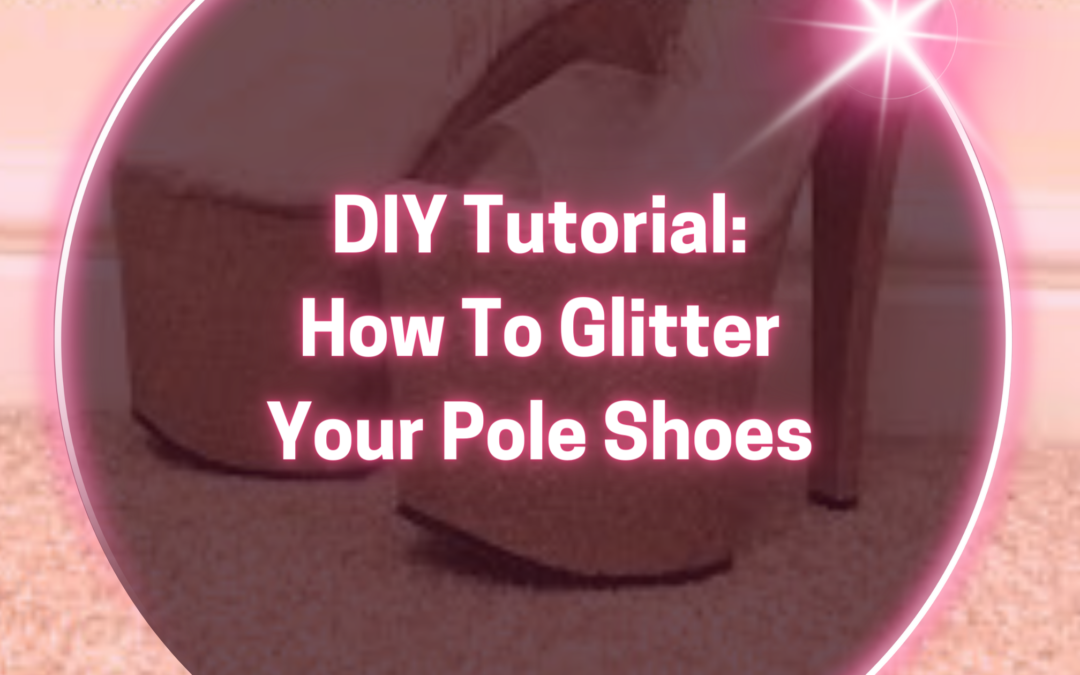
Here is a short tutorial on how to glitter your pole shoes. Although not the tidiest finish ever (this was my first time after all), they look fabulous and will work perfectly for an upcoming photo shoot. If you are looking to breathe new life into a battered pair of Pleasers this is a great way, and no one will be able to see the exact finish whilst you are on stage anyway, haha!
What You Will Need:
A pair of old heels (or new if you’re feeling crazy!)
Sandpaper
Masking tape
Modge Podge – original gloss
Synthetic paint brushes (two sizes)
Paper Plates
Glitter (I used about 20g worth in total)
Prepping
I started by sanding down the clear platforms and heels of my old Pleaser shoes, this roughs up the surface and ensures that the Modge Podge has some texture to stick to. Make sure you sand evenly across the whole shoe, getting into all the nooks and crannies. If you are redoing a pair of clear platforms then these should become ‘cloudy’ once sanded evenly.
You can then take your masking tape and begin to cover the straps and the sole of the shoe to protect it from glue and glitter, and create a clean line for a polished finished appearance.
Application
Take a small flat brush and apply a thin layer to one section of the shoe – you want to apply the glitter in sections, working around the shoe as you go.
- A) I then began to apply the glitter, working round the shoe in sections. Applying the glitter as you go allows you to let the other sections dry. Make sure you have a towel or table cloth down to catch glitter fall out, and I also used 2 paper plates so that I wasn’t wasting too much glitter as it could be reused.
Once one section was dry and ready for a second application I used a larger paint brush to ‘brush off’ any loose glitter back onto the paper plate to create a smoother finish, I could then reuse this glitter on the next application, and so on.
TIP: Don’t worry if the shoe looks skanky as hell to begin with, it’ll take a few applications to ensure even coverage. If you brush it too early, or try to apply a second layer too early, and it gets build up and rough areas just leave it to dry for a little longer and come back and brush it again later.
For additional applications, brush a new layer of Modge Podge onto the section, and reapply the glitter.
- B) I created a smooth finish by ensuring I brushed off any excess glitter between applications.
- C) I used a pair of small nail scissors to clean up the black sole on the bottom of the shoe where some glitter had accumulated. I gently and carefully scraped it off to clean up the edges and create a nice finish.
- D) I removed the masking tape once the shoes were touch dry. There were some small gaps where the tape had slightly overlapped the platform, so I carefully used a small paint brush to apply some Modge Podge in the gaps and applied a small amount of glitter to cover up the gaps.
I completed the shoes by applying two final layers of Modge Podge to try and ‘seal’ the glitter a little better. This is a little scary at first as the glue goes on very white to begin with, but don’t worry it dries clear.